Sometimes you draft a food post and leave it sitting in your queue for days, then weeks, then months. Occassionally, this isn't obvious to your readers - who cares if you ate at
Boa last week, or in 2004? But sometimes, it's painfully obvious, as is the case with my cherry pie experiment, which went out of season 2 months ago, and which I served at a BBQ back in mid-July.
Why have I had such a hard time writing this post? Probably because of the horrific images seared into my mind from the experience. Tender cherry flesh, ripped open and sprayed all over the walls in my kitchen... bloody red juice trickling down my arms... pastry dough stretched too thin and falling off in fleshy chunks on the floor...
It was kinda like The Shining, but with cherries.

I've always had a fascination with cherry pie. My mom used to sing this song when I was a kid,
"Can she bake a cherry pie, Billy boy, Billy boy, can she bake a cherry pie, charming Billy?" Then we would go to Polly's Pies and I would get the biggest, most obnoxiously-sweet piece of cherry pie I could ever imagine. I don't even think I like cherry pie anymore, but somehow childhood memories win out and I continue to call it my favourite pie flavour.
So when I got invited to a July BBQ at the height of fresh cherry season, I knew it was time to bake my first ever cherry pie.
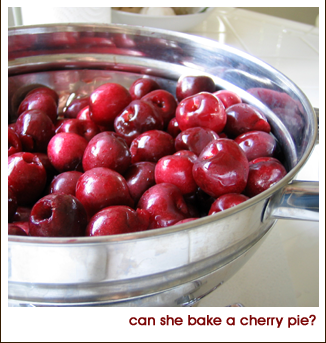
OK, here's where it gets messy. Baking a fresh cherry pie is no small task. You've gotta go to the farmer's market and buy the freshest cherries possible, of course, but then there's the problem of the pits. Uggh. "The pits." You start to see where that phrase comes from.
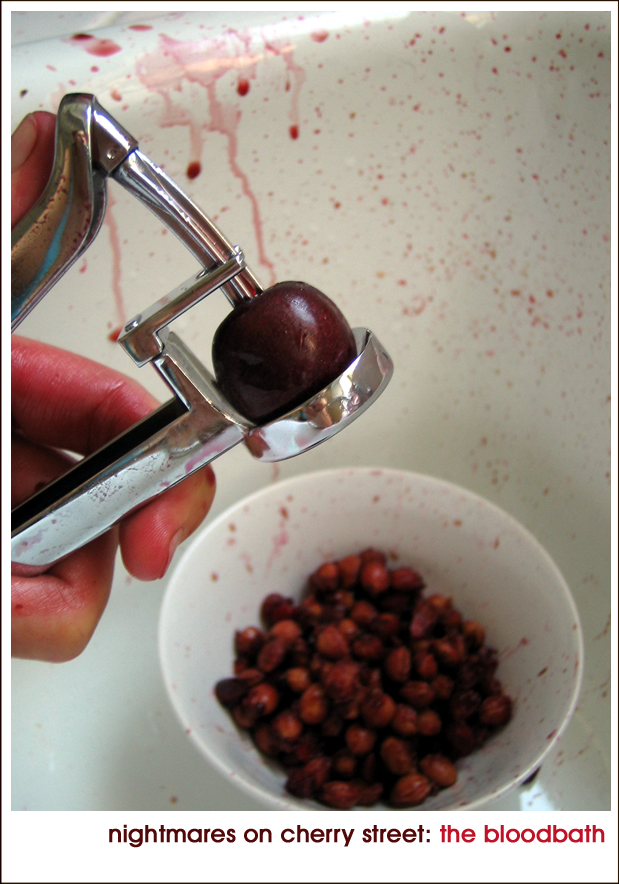
I had heard of a fun-sounding kitchen device called a cherry pitter. I thought it might be something incredibly automatic, like you pour the cherries in one end and they come out pitted on the other. No, my friends, a cherry pitter is more like a garlic press, only it requires much more effort, attention, and patience.
It also requires a lot of bleach. You know, the kind they use when cleaning up a crime scene? Until you've pitted 100 cherries, you haven't truly seen the horrors of the kitchen. By cherry number 20, I was covered in red juice, and by cherry number 50, the furthest reaches of my kitchen counter were splattered - I was finding new spots and cleaning it up for days.

Maybe I'm giving the cherry pitter a hard time - it's actually a pretty useful device (you can use it to pit olives too). But I can't say that I'll forgo the frozen cherry section of my grocer's freezer next time.
If there is a next time...
After you crush and pop open the juicy cherry flesh, leaving bits of cherry innards scattered everywhere, you heap them all up in a pan and set them on fire. The point of this is to soften them and leach out the cherry juice for later, but at this point, I'm thinking any cherry torture is a good thing.
Did I mention one of my favourite shirts is now permanently stained with cherry juice? Burn, cherries, BURN!

After unleashing my cherry aggression, it was time to focus on the crust. The soft, tender, flesh-like crust. Unfortunately for me, the recipe called for an unusual method of lattice building: they instructed you to build the lattice separately on a baking sheet, then slide it off onto the prepared cherry pie. Ha haa. So simple.
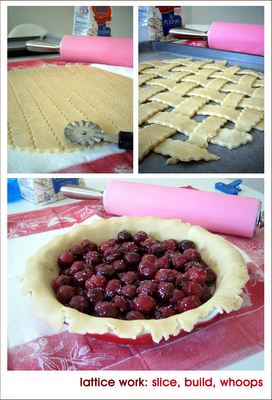
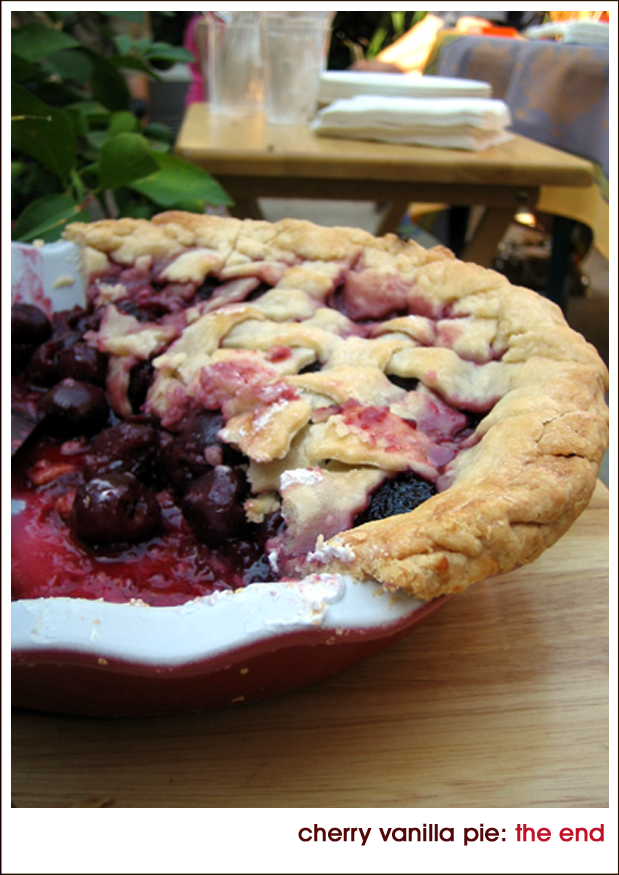
"Sliding" lattice onto a pie is about as easy as stapling jello to the ceiling. And the end result looks about the same. The entire thing slid to one side, so instead of lattice, it looked more like a tight basket weave, covering only the left third of the pie. Somehow, I managed to separate it out without breaking to many strands, and popped the sucker in the oven.
Phew. Crime is tough.
If anyone still wants to attempt this recipe after seeing the aftermath, you can find it
here (note - I used madagascar vanilla and cut the amount of vanilla by two-thirds).
Nearly two months ago, this was the last time I baked. No wonder...